

Description
Your custom design made to fit to your guitar. Send us a sketch of your idea or have us design something for you
Price includes design and 10 decals. We’ll reply to the email you made your purchase with and get things cookin’!
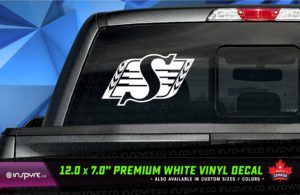
✅ PREMIUM QUALITY /// Our decals look KILLER and stay ALIVE. Lifetime indoor durability. Made from premium 2mil automotive grade vinyl
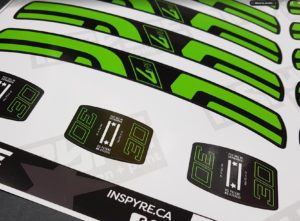
✅ DESIGNED AND MADE BY A PRO /// Everything is designed by hand without tracing software giving you professional looking graphics without any funky lines or ugly text.
✅ PRECISION DIE-CUT /// Made by cutting solid colored vinyl, NOT printed with inks. NO visible background or bordering spaces
🚛 SHIPPING /// In order to keep costs as low as possible for you, we ship these decals 14in and under via Canada Post Lettermail. Decals over 14in will ship in a box via UPS.
- First, with an old credit card or squeegee, rub the back of whole decal down to be ensure the transfer tape is properly adhered to the decal
- Then clean the surface where the decal will be installed with minimum 50/50 isopropyl alcohol / water mix. If it’s really gross or oily, clean it one more time. Do not apply on extreme cold or hot surfaces. Ideal surface temperature is 15°C – 32°C (60°F & 90°F)
- Slowly remove the paper backing making sure that your decal remains stuck to the transfer tape. If part of your decal lifts up with the backing, rub the paper backing back down against it until it stays stuck to the transfer tape
- Once it’s peeled away from the backing, line up and lay down your decal and smooth it down, making sure that it is completely stuck to the surface.
- Slowly & carefully remove the transfer tape from your decal at a 45° angle, making sure that your decal is stuck to the surface. If you see part of the decal does not release from the transfer tape, press and it back down to the surface and repeat the process.
- Check for air bubbles. In most cases air bubbles can be worked to the edge of the decal, but if not, take a needle and poke a hole into the bubble to allow the air out and rub down again.
- (Optional) Lock it in with a little heat from hair dryer or heat gun, taking care not to get too close and melt the decal. Then rub it down again with a clean rag, or just use your finger. This works especially well on textured surfaces like the Tolex on a guitar case.
Reviews
There are no reviews yet.